
Materials: Clay in 3 different colors, shallow
glass bowl, circular items to use as stencils (lids, small bowls,etc.), butter
knife, pen with a flat end, scrap piece of lace, rolling pin.
Instructions:
Roll Out Clay

Condition the clay by rolling it around in your hands for a
few minutes. Once soft, start rolling it flat with the rolling pin to a
1/8-inch thickness.
Create a Lace Pattern

To
create the lace pattern, lay the scrap piece of lace over the flat clay.

Roll
over the lace a few times with moderate pressure to imprint the clay.

Pick
up the lace to make sure the pattern transferred onto the clay.
Create Polka Dots and Stripes
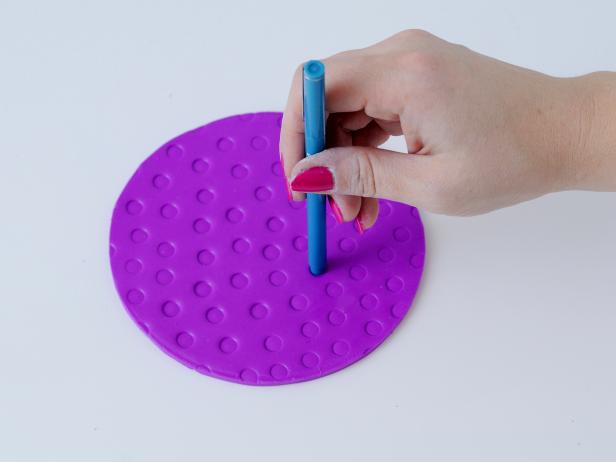
Use
the flat end of a pen to create a polka-dot pattern in the clay.

To
make stripes, drag a butter knife with very light pressure on top of the clay.
Cut Out Circles

Place
a circlular object, about 4-5 inches in diameter, over the clay to use as a
stencil.

Cut
around the stencil with a butter knife.

lightly
smooth out the edges with your fingers.
Bake Clay

Turn
over a shallow bowl. Place the clay circle right side down over the bowl, and
lightly press down until it takes the shape of the bowl.

Use
a larger shallow bowl as a mold for a larger piece of clay.

Bake
according to the clay packaging instructions.

Place
these trays on a dresser to hold jewelry, or use it on an entryway table as a
catchall tray.
Courtesy - http://www.hgtv.com / Jessika Creedon